Box modeling is a 3D design technique where you start with a basic shape, like a cube, and gradually refine it into something more detailed, such as a character or environment.
You achieve this by using tools like extrusion, which pulls parts of the shape outward to add new sections, and sculpting, where you mold the shape like clay to add finer details.
Our experience in the 3D design field ensures that the information in this article is grounded in real-world practices and up-to-date industry knowledge.
By reading this article, you’ll gain insights from professionals who understand the tools and techniques necessary for mastering box modeling—providing you with clear, practical advice that you can trust to improve your skills and efficiency in creating detailed 3D models.
Whether you're a beginner looking to establish a solid foundation or an experienced modeler seeking to refine your techniques, this article will serve as a valuable resource for elevating your box modeling capabilities.
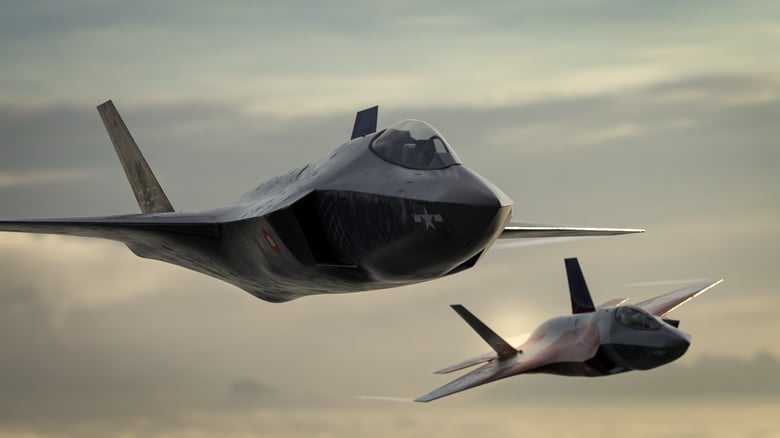
Created by: Gregers Berth – Class 21’
What is box modeling?
Box modeling is a captivating technique in 3D modeling that unlocks the gateway to crafting intricate 3D creations. As one of the commonly used 3D modeling techniques, it allows designers to start with a simple, basic shape and gradually refine it into detailed models like characters, environments, or objects.
Box modeling is a 3D modeling technique where the process of creating 3D objects begins with a box or other basic shapes. This method, which defines how the different parts of the box—margin, border, padding, and content—interact, provides structure and control over the model's form. While primarily a tool for creating visual 3D models, the term “box model” is also used in web design, where it refers to the structure of how every HTML element is wrapped within a box.
Interestingly, box modeling techniques can even extend beyond digital art, as they can be adapted to calculate ground-level concentrations of specific air pollutants when used in environmental simulations. However, in the realm of 3D modeling, box modeling remains a fundamental approach to shaping and designing objects by controlling the levels of detail added through various stages of refinement.
Step-by-Step Box Modeling Tutorial
Step 1: Conceive and Conceptualize
Every creation begins with an idea. Before opening your 3D software, envision the object—whether it’s a character, a vehicle, or an architectural design—you want to model. This initial mental blueprint will guide your journey through box modeling techniques.
Step 2: Set Up Your Workspace
Launch your preferred 3D software, such as Blender 3D or 3D Max, and create a new project. Blender is a great free tool for beginners, while professionals often use Maya for more complex animation and character modeling. Your digital canvas is now ready to bring your imagination to life.
Step 3: Lay the Foundation
Start with a simple primitive shape like a cube. This will serve as the base of your model, from which you’ll build intricate details. Just as in box modeling, this shape acts as the skeleton, forming the groundwork for your 3D creation.
Step 4: Extrude and Define
Use the extrusion tool to pull out sections of your shape, adding volume and dimension to your model. This is one of the key modeling techniques in box modeling—by extruding edges and faces, you give your base shape form and structure.
Step 5: Sculpt and Refine
With the basic structure in place, refine your model using tools like scale, rotate, and move. In this phase, you'll begin sculpting, shaping your vertices, edges, and faces to achieve the contours and details of your vision. Like a sculptor working with clay, you'll refine your object until it matches your mental blueprint.
Step 6: Add Intricate Details
Now, it’s time to add fine details with tools like cut and bevel. You can create human features, vehicle parts, or intricate architectural elements by using edge loops to shape the contours of your model. This is the stage where your model truly comes to life, transitioning from a basic form to a detailed, finished product.
Step 7: Smooth with Subdivision
Apply a subdivision surface modifier to smooth out rough edges and enhance the overall finish. In more complex models, especially in character modeling, this technique helps create a polished and realistic look, adding the final touches to your 3D modeling process.
Step 8: Materials and Textures
Add materials and textures to give your model depth and realism. Whether it’s metal, glass, or fabric, these materials can add rich layers of detail. Tools like Maya and Blender 3D allow you to experiment with different shaders to create a realistic surface for your model.
Step 9: Illuminate and Set the Scene
Lighting is essential in 3D modeling, as it highlights the textures and forms of your creation. Experiment with lighting setups to create shadows, highlights, and the mood you want for your model. This step helps transition your digital creation into something that feels real.
Step 10: Capture the Essence
Position your virtual camera to capture your model’s best features. Play with different angles and perspectives to showcase the details you’ve worked hard to create. A good camera setup can transform your model from a digital object into a visually compelling piece.
Step 11: Iterate and Perfect
Box modeling is an iterative process, so always review your model from multiple angles. Refine the amounts of detail, lighting, and materials to achieve perfection. The more you tweak, the closer your model comes to becoming a masterpiece.
Step 12: Share Your Artistry
Now that your model is complete, share it with the world! Post your work on social media, online portfolios, or art communities. CADA students and alumni can join our official Discord server to receive feedback from instructors and peers, helping you grow as a 3D artist.
Why Box Modeling is Essential for Every 3D Artist
In essence, box modeling is a versatile and precise technique that holds a critical place in 3D modeling. It offers a structured approach to sculpting, ensuring accurate proportions and fine-tuning as you work toward your final vision. Whether you're shaping the sleek body of a sports car, building a mechanized robot, or crafting an entire cityscape, box modeling is an indispensable tool for every 3D artist.
If you’re ready to take your passion for 3D further, explore the first semester at CADA and learn more about becoming a 3D digital artist
How We Introduce You to Box Modeling at CADA
If you’re ready to take your passion for 3D further, explore the first semester at CADA and learn more about becoming a 3D d
In the first semester at CADA, box modelling takes you on an exhilarating exploration of interior design. Imagine having the power to choose any interior space – a cozy living room, a futuristic workspace, or a grand hall. With box modelling ideas and technique as your guide, you’ll embark on the journey of crafting this chosen space from scratch.
Starting with a basic shape – the cornerstone of box modelling – you’ll sculpt and mold your vision into reality. The walls, the furniture, the textures – each element emerges under your digital chisel. With every extrusion and scaling, your chosen interior flourishes, becoming a virtual testament to your creative prowess.

Created by: Gudmundur Vikar Johnson – Class 21’
Join CADA's 3D Bootcamp
For those eager to dive deeper into box modeling and expand their 3D skills, CADA’s 3D Bootcamp offers a thrilling, hands-on experience. Whether in person or online, every Thursday you’ll get the chance to learn from seasoned professionals who will guide you through the art and science of shaping 3D creations.
From mastering the tools to honing your sculpting techniques, you’ll unleash your creativity in a collaborative environment with fellow enthusiasts. Plus, you can interact with instructors in real-time, ask questions, and witness your skills grow.
Join our free, online 3D Bootcamp.
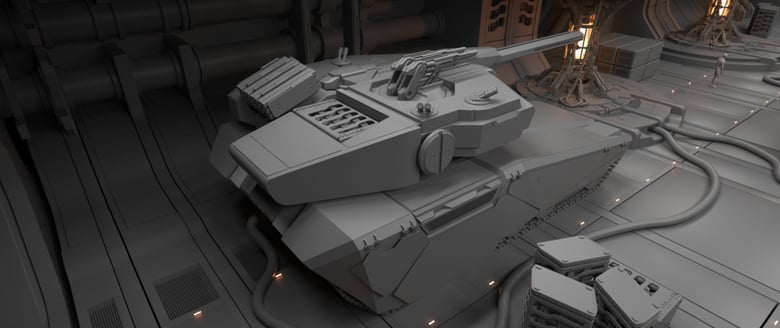
Created by: David Ranloev – Class 16’