
ZBrush is a digital sculpting application made by Maxon. Instead of placing vertices and edges one by one, as you do in box modelling, you push, pull and carve a dense surface with brushes, much like working with clay. For game art, that makes it the standard tool for organic shapes: characters, creatures, faces and the worn, chipped detail on props.
This guide explains what ZBrush is used for in games, how ZBrush sculpting works step by step, what happens to a sculpt after it leaves ZBrush, and the mistakes that hold beginners back.
What is ZBrush?
ZBrush is a sculpting application first, and a general 3D package hardly at all. You will not animate or build game levels in it. What it does better than most software is handle meshes with millions of polygons while you sculpt them in real time, so you can model pores, wrinkles, scales and scratches directly into the surface.
The interface is the first hurdle. It does not look or behave like Blender or Maya, and many common actions live behind shortcuts. Give yourself a week or two of daily practice before you judge it. Once the navigation and the handful of core brushes are in your hands, the interface stops getting in the way.
ZBrush is sold by subscription from Maxon, and the plans and what they include change over time, so check the current ZBrush plan options before you buy. There is also ZBrush for iPad, which has a free plan with a reduced brush set and some features, such as DynaMesh and ZRemesher, restricted.
What is ZBrush used for in game art?
In a game studio, ZBrush is mainly used to create the high-poly version of an asset. That sculpt is not what ends up in the game. Its job is to hold the detail, which is later baked onto a lighter model that the engine can run. Typical uses:
- Characters: heads, bodies, clothing folds and armour for player characters and NPCs.
- Creatures: monsters, animals and anything with muscle, skin, scales or horns, where organic form matters most.
- Props and weapons: damage, wear, carved ornament and stylised shapes that would be slow to build polygon by polygon.
- Environment pieces: rocks, cliffs, tree bark and stone trims, often sculpted once and reused across a level.
The craft underneath transfers between applications, so the 3D Art specialisation in CADA's Certificate in 3D for Games teaches sculpting in Blender. Form, anatomy and the bake-down to a game model carry over to ZBrush unchanged.
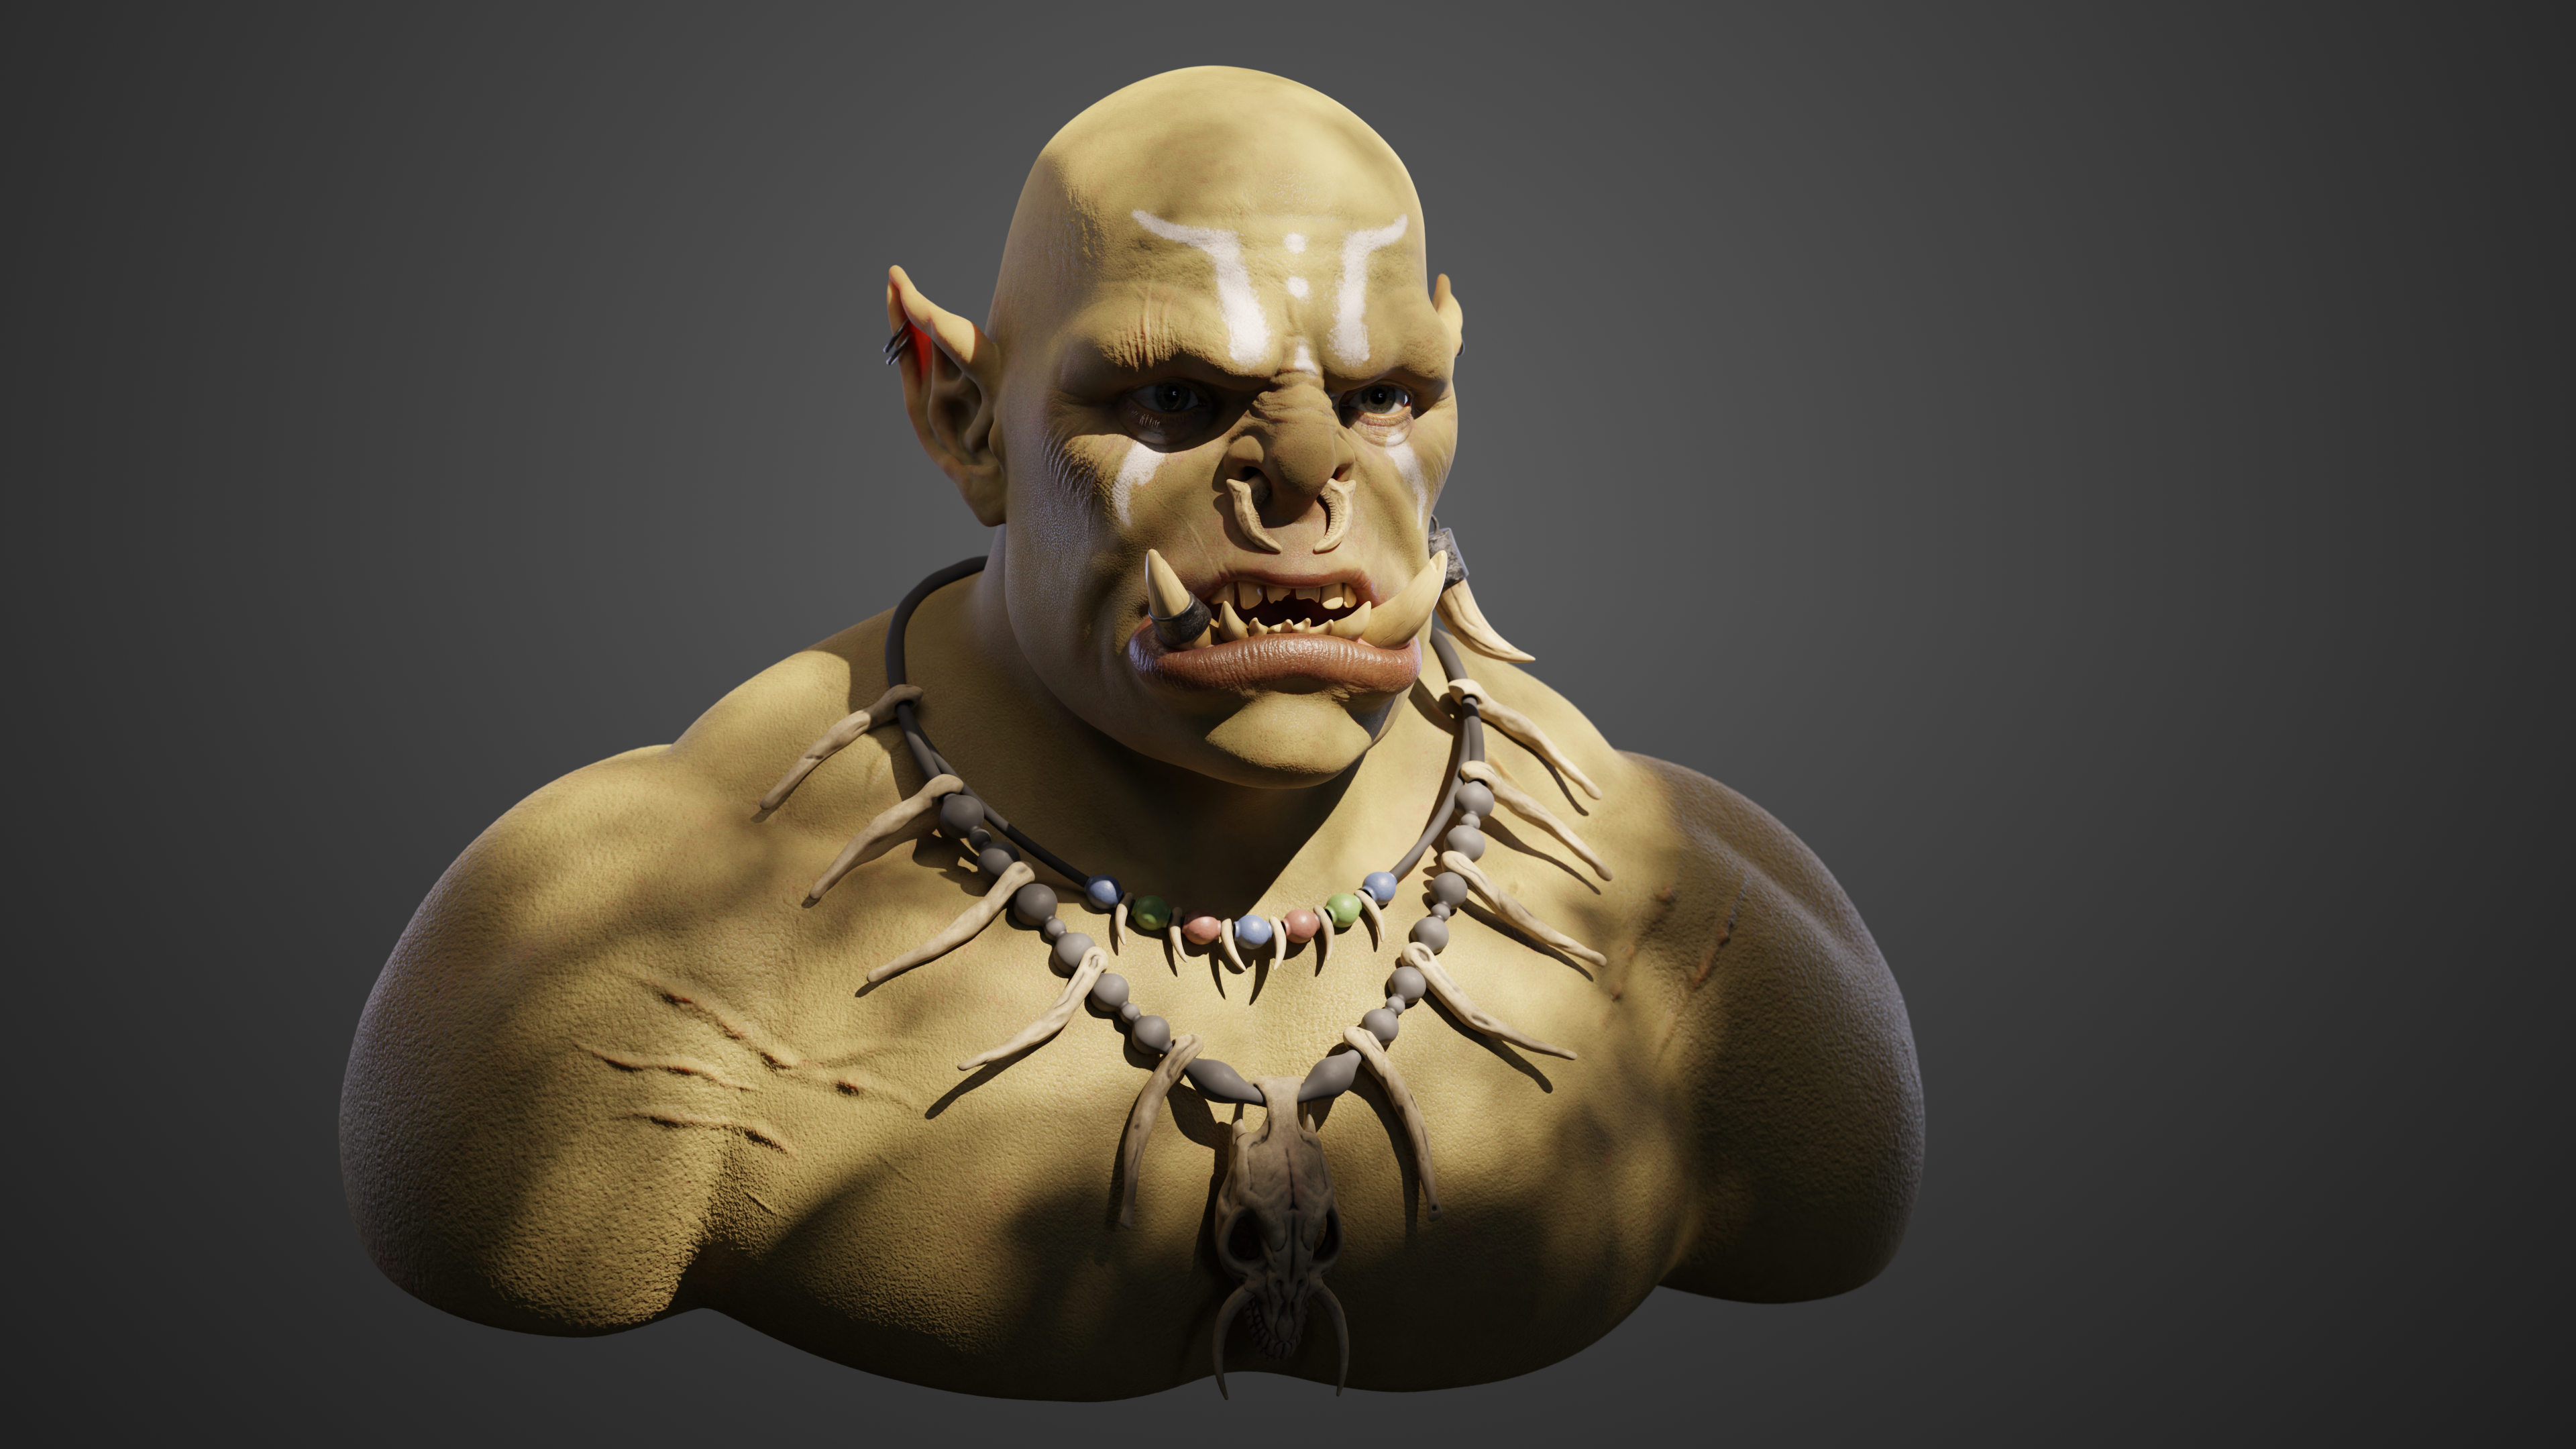
Orc sculpt by Gregers Berth
How ZBrush sculpting works: the core workflow
Most game sculpts follow the same order: big shapes first, then medium forms, then fine detail. Artists call these primary, secondary and tertiary forms. The tools below map onto those stages.
1. Blockout with primitives or ZSpheres
Start with simple shapes. You can combine primitives such as spheres and cylinders, each as its own SubTool (a separate object inside one ZBrush model), or build a ZSphere armature: a chain of connected spheres that you pose like a simple skeleton, then convert into sculptable geometry with Adaptive Skin. Either way, the goal is proportion and gesture, not detail.
2. DynaMesh for primary forms
DynaMesh rebuilds the mesh with evenly sized polygons whenever you remesh. That means you can pull out a horn or stretch an arm without the surface tearing into long, thin polygons. Keep the DynaMesh resolution low while you work on the big shapes. A low resolution forces you to think about mass and silhouette, which is exactly what this stage is for.
3. Subdivision levels for detail
Once the forms are right, you move to a mesh with clean topology and subdivide it. Each subdivision is stored as a level, and you can step down to a low level to adjust large shapes and back up to the highest level, where your fine detail is kept. Work at the lowest level that can hold the change you are making. Wrinkles belong at the top; jaw width does not.
4. The brushes you actually need
ZBrush ships with hundreds of brushes. You need about six to start:
- Move: shifts large areas to fix proportions and silhouette. Use it constantly.
- Clay Buildup: builds up form in layers, like adding strips of clay. Your main brush for muscles and planes.
- Standard: a simple brush that raises the surface, useful for soft bulges and quick shapes.
- Dam Standard: cuts sharp creases, for eyelids, lips, wrinkles and seams.
- Smooth: evens out the surface. Hold Shift to use it from any brush.
- hPolish and Trim Dynamic: flatten and sharpen surfaces for hard-surface areas such as armour plates, belt buckles and weapon edges.
Learn these well before you collect custom brush packs. A strong sculptor with five brushes beats a beginner with five hundred.
5. Masking and polygroups
Masking lets you paint an area so that it is protected while you sculpt or move the rest, for example to pose a finger without dragging the hand with it. Polygroups are colour-coded groups of polygons. You use them to isolate and hide parts of a model, and you can turn a mask into a polygroup. Organising a sculpt with polygroups early saves a lot of time once the model gets heavy.
6. Sculptris Pro
Sculptris Pro is a mode that adds or removes triangles under your brush to match the detail you need, so the mesh gets denser only where it matters. It is useful for quick concept sculpts and for pulling out thin shapes like spikes or ears. For a finished game asset, you will usually remesh the result afterwards.
7. ZRemesher
ZRemesher builds new, cleaner topology over your sculpt, with a target polygon count you set. It is ideal for turning a DynaMesh or Sculptris Pro sculpt into a base you can subdivide for detailing. It can also give you a starting point for a low-poly model, but for animated characters you should expect to check and fix the edge flow around the face and joints.

Alien sculpt by Marie Alsing
From sculpt to game asset: what happens after ZBrush
A finished sculpt can easily run to several million polygons, far too many for a game engine. Here is the order a sculpt goes through to become a game asset:
- Retopology: build a low-poly mesh over the sculpt, with clean edge flow and a polygon count that fits the asset's budget. You can do this by hand in Blender or Maya, or start from ZRemesher and clean it up.
- UV unwrapping: lay out the low-poly mesh flat so textures can be applied. Our guide to UV mapping for games covers this step in detail.
- Baking: project the detail from the high-poly sculpt onto the low-poly model as texture maps. The most important is the normal map, which fakes the sculpted detail in lighting without adding geometry.
- Texturing: paint colour, roughness and metal maps, usually in a dedicated texturing application such as Adobe Substance 3D Painter, using the baked maps as a base. See our texturing guide for how that works.
- Rigging and animation (characters only): the low-poly character is rigged and animated in Maya or Blender, not in ZBrush.
- Engine: the model, textures and animations are imported into an engine such as Unreal Engine and set up with materials.
The order matters. Texturing comes after the bake, and the bake needs finished UVs, so a change to the low-poly model late in the process means redoing the steps after it.
ZBrush or Blender for sculpting?
Both are used to sculpt for games. ZBrush handles very high polygon counts better and is common in character teams; Blender is free and lets you sculpt, retopologise, unwrap and render in one application. If you are new to 3D, the choice of first software matters less than you think: the sculpting skills you build in one transfer to the other.
Anatomy and form come first
Software skills will get you through the interface. Anatomy and form are what make a sculpt look right. For characters and creatures, learn the skeleton and major muscle groups, how they attach and how they change shape when a limb moves. Learn the head first: skull shape, the planes of the face, where the eyes and ears really sit.
Study from real reference, not only other artists' sculpts. Work from photos, anatomy references and, if you can, life drawing. A creature that does not exist still needs believable bone and muscle under the skin, so the same knowledge applies to monsters as to humans.
Common beginner mistakes
- Going to high subdivision levels too early. Once the mesh is dense, big changes get slow and lumpy. Stay low until the forms are right.
- Detailing before the primary forms work. Pores and wrinkles cannot rescue a head with the wrong proportions. If the sculpt does not read with all detail hidden, it is not ready for detail.
- Ignoring the silhouette. Players often see your character small on screen or from a distance. Check the outline from several angles, and use a flat, dark material now and then to judge the shape alone.
- Sculpting from the front only. Turn the model constantly. Many sculpts look good from the front and flat from the side.
- Over-smoothing. Too much Smooth makes forms soft and rubbery. Define planes first, then soften only where the anatomy is soft.
- Forgetting the game model. Detail that is too fine or too shallow will not survive the bake to a normal map. Sculpt with the final texture resolution in mind.
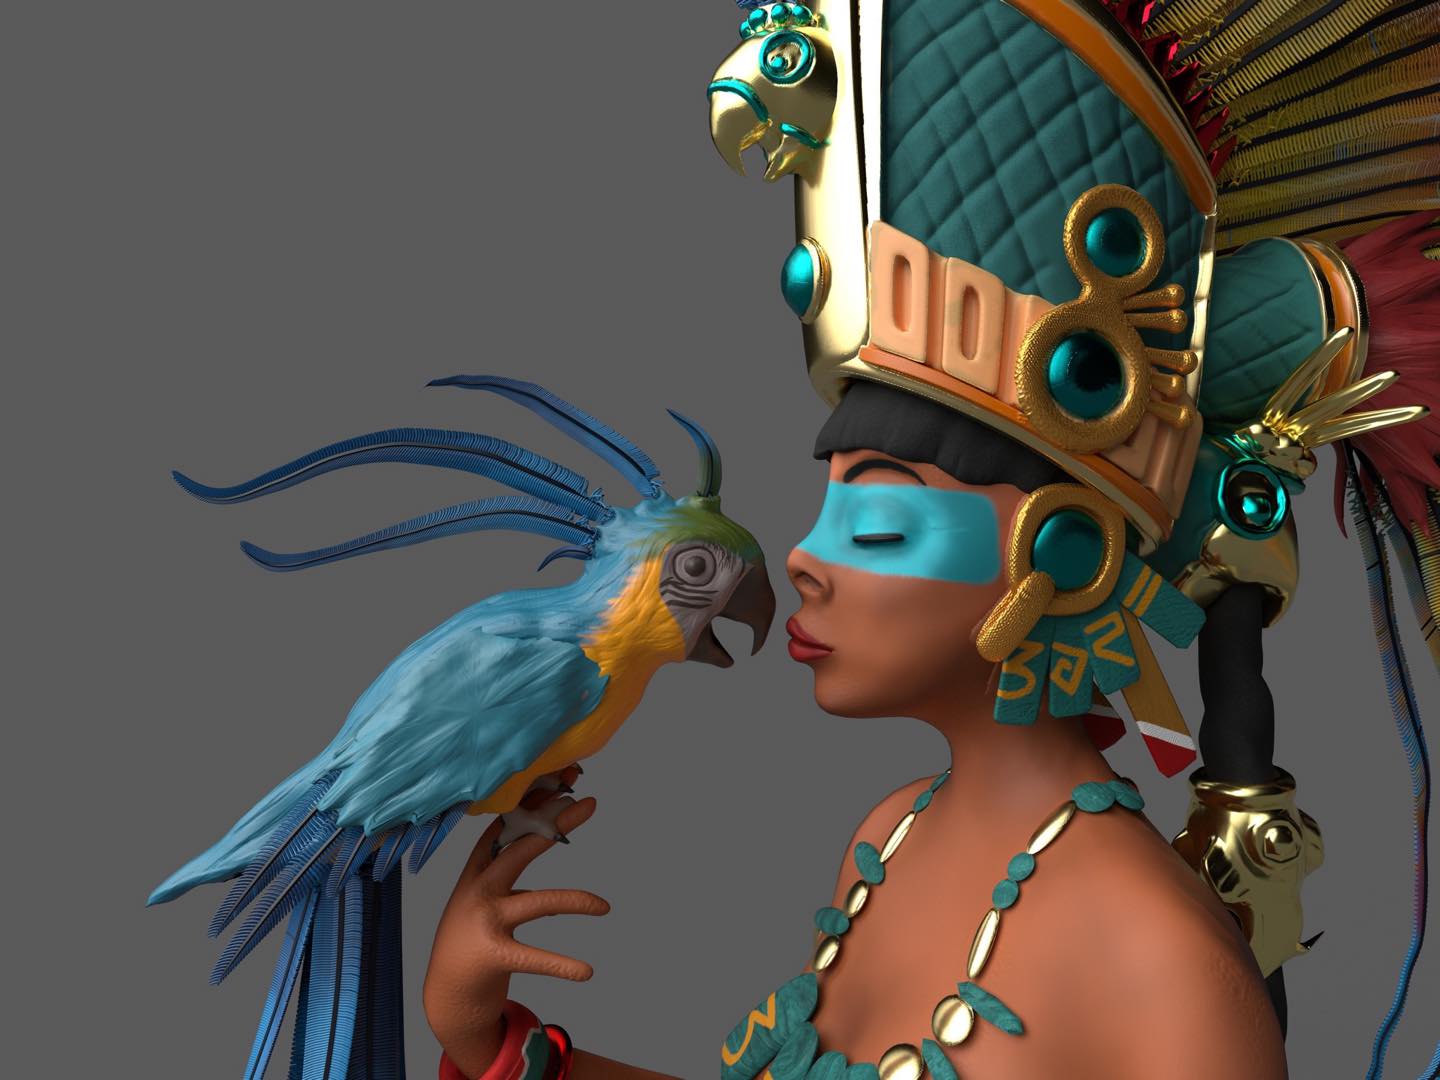
Character by Rikke Padovan
What studios look for in a sculpting portfolio
Studios hiring character and creature artists look at a small number of things, and they look fast:
- Strong primary forms and anatomy. Correct proportions and believable structure matter more than surface noise.
- Finished game assets, not only sculpts. Show the high-poly sculpt next to the low-poly model, the wireframe, the UVs and the textured result in an engine. That proves you understand the pipeline.
- Clean topology on the game model. Especially around the face, shoulders and other joints that will deform in animation.
- A clear art direction. Whether the style is realistic or stylised, every piece should look intentional and consistent.
- Quality over quantity. Three to five finished, well-presented pieces beat twenty unfinished busts. Remove your weakest work.
Present each piece with clean renders from several angles, a neutral background and a breakdown image. Reviewers should not have to guess what you made.
Start sculpting for games with CADA
If you have never opened a 3D application, start with the free Blender 3D Bootcamp: six live, one-hour online sessions over three weeks, recorded, starting in Blender and ending in Unreal Engine, with no experience needed.
If you already know your way around ZBrush and want to push your sculpting further, the Master Sculpting in ZBrush course combines onsite and online weeks, and you can take two weeks or the full four. It covers production work in ZBrush (DynaMesh, SubTools, ZRemesher, Sculptris Pro and ZModeler), a group diorama, digital anatomy, and sculpting from 3D scan reference for your portfolio.
When you are ready to commit to a full path into game art, the Certificate in 3D for Games is a 60-week online programme with recorded lectures, a live feedback session each week and team projects every term. No 3D experience or portfolio is needed to apply, and the 3D Art specialisation is where you go deep on sculpting, in Blender, alongside the rest of the game asset pipeline.